and... if you think back to every science experiment you ever did in school, you might remember that the slightest variation can cause a major difference in results. A few extra shakes of baking soda, for example, turned those tiny volcanoes into legitimate explosions! Splat does its very best to control the experience inside every color kit, gloss, and cream it produces. The rest - as they say - is up to you.
That’s why Splat (and almost every other hair color brand out there) tries to make your personal at-home coloring journey as easy as possible by including detailed directions, warnings, and everything else you need to achieve stunning hair color results at home.
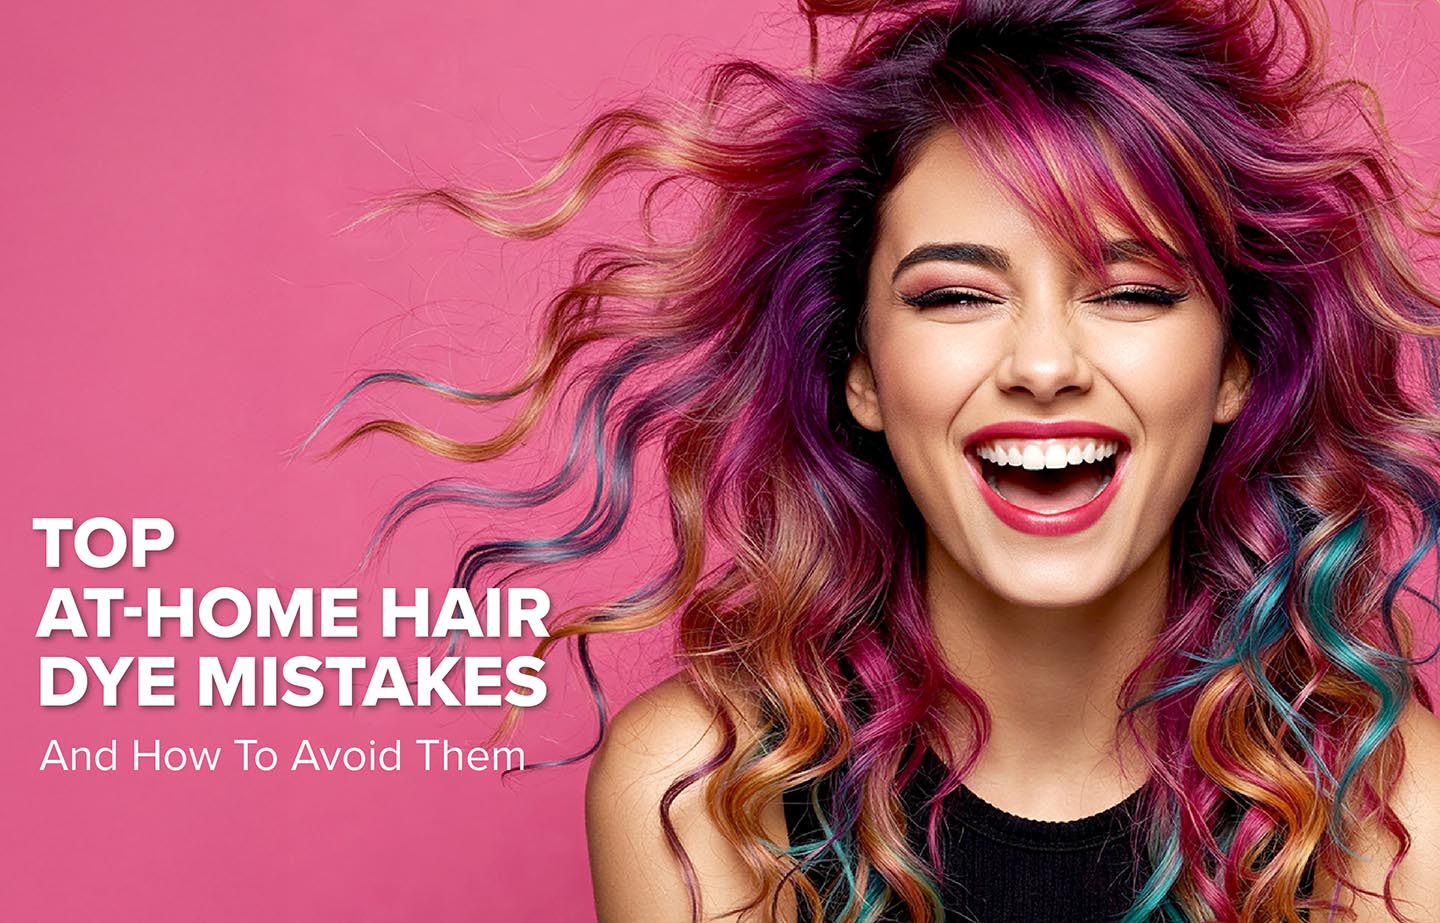
We care about your hair and your hair coloring experience, which is why we’ve compiled a list of some of the biggest hair color mistakes, complications, and oopsies that can turn your transformation into an unexpected amount of trouble. Read on to find out how to take precautionary measures - and prevent any ‘user error’ - to truly help you ‘go pro’ at home.
We care about your hair and your hair coloring experience, which is why we’ve compiled a list of some of the biggest hair color mistakes, complications, and oopsies that can turn your transformation into an unexpected amount of trouble. Read on to find out how to take precautionary measures - and prevent any ‘user error’ - to truly help you ‘go pro’ at home.
As you know, hair dye is designed to deposit color on your hair. Sometimes, though, mistakes do happen, and getting hair dye onto your skin can leave some mild staining behind. The easiest way to prevent unwanted stains on your neck, face, and ears is by slathering Vaseline or petroleum jelly on your skin before you color your hair. The easiest way to prevent your hands from getting stained (or dried out) is by wearing gloves. (And Splat’s Original Complete Color kits, Ombre kits, new Double Lift kits, and Midnight kits include gloves to help you protect your hands!). If the color still winds up staining your skin, try spot-cleaning the areas with makeup wipes, baby wipes, micellar water, or by mixing warm water, dish soap, and baking soda together and gently scrubbing for about 5 minutes. We also recommend Color Oops Hair Color Removing Wipes ($4.99) for an easy fix!
2. After-Coloring Stains
In your day-to-day life, your hair touches a number of different surfaces throughout the day. Semi-permanent direct hair dye, like the kind used in most of Splat’s products, is designed to gradually wash out over time. It’s one of the perks of semi-permanent color! But...every time you put water on your hair, you’re interacting with the color molecules and ‘loosening’ them. This is why stains can appear on things like pillowcases, the back of your chair, or the collar of your clothes even after several washes. If you're concerned about leaving a trail of color behind you, make sure to dry your hair completely before climbing into bed, sitting back at your desk, or putting on your clothes. Do this for the first few washes and voila! - no after-coloring stains! Thoroughly washing your hair with color-safe, the sulfate-free shampoo will also help by sealing your hair and keeping the color locked in. If you do find color patches somewhere that you can’t put through a washing machine (such as a sofa, carpet, or desk chair), try saturating the stain with a stain remover, shampoo, or dilute a tablespoon of dish soap and white vinegar into 2 cups of water and let it soak on the stain for 30 minutes. Blot dry!
3. Bathtub and Shower Stains
Nobody wants to see their porcelain, tile, or refurbished shower turned into a color explosion after rinsing out their hair dye. But sometimes stains happen! Don’t fear - Splat is here with a solid suggestion on how to remove stubborn stains from your bathtub and shower. Skip the bleach and reach for hydrogen peroxide-based cleaners instead, like Clorox Bathroom Foamer or Lysol with Hydrogen Peroxide. Spray these on as soon as you’re finished rinsing and let the active chemicals go to work. Let them sit for 20 minutes, then scrub and rinse away. (You can do this multiple times if needed, but only once a day. The dye will ‘pull’ out of your tub better if you allow the surface to dry in between cleanings). We know you want to protect your shower, but you don’t need to hose off in the yard to do that (or a car wash)! Avoid splish-splashing while showering and tilt your head back to gently rinse out the color instead.
4. Color Theory Mistakes
One of the toughest transformation troubles can be winding up with a color different than you intended - say, for example, you buy blue dye but end up with green results! A mistake like this can happen when bleached hair is too yellow and you add blue, and this has to do with color theory. Color theory is a complicated science, but at its core, it’s just the proper use of the color wheel. Similar colors can blend, and color opposites can cancel out unwanted results (this is why purple or violet toners are used to counteract brassy or yellow tones). Remember semi-permanent hair dye deposits color onto the surface of your hair. If you deposit red dye onto yellow hair, you can wind up with orange. If you deposit blue dye onto red hair, you can wind up with purple. The most vibrant color choices (and color changes!) are best achieved when your current hair color is either significantly lightened (which makes for better coverage, since the new color will be layered on top of it) or already a base color that the deposited color can blend into. The easiest way to prevent coloring mistakes is doing a “strand test” first! You’ll see exactly how your new color will interact with your current color, so you can prevent an accidental color oops. We also recommend conducting a “patch test” on the skin behind your ear to see how the dye interacts with your skin.
5. Removing Long-Lasting Color & Switching Shades
Three weeks ago, you loved your new blue hair color. But by week six, you’re noticing the color has faded into a light green! This is completely normal. Semi-permanent color isn’t permanent - it’s a “direct dye” that layers directly over the hair, making it temporary. And a bold, vibrant color will eventually fade over time with every wash, rinse, and shampoo. To protect and maintain your color, wash with cold water and use sulfate-free shampoos and conditioners. If your color has faded and you want to remove it, try using home remedies, like the baking soda treatment shared by professional colorist Aka Aislinn here. (And, as a last resort, you can try using the bleach wash method on our YouTube, here. If you already know you’re the kind of person who likes to transition into different colors, reach for Splat Naturals Semi-Permanent Conditioning Hair Color. These add a bold new burst of color (and they’re packed with conditioning treatments) to help you more easily swap from one color to the next. You can re-vamp your hair back to your original color vibrancy (by using Splat Naturals in Blue, if your blue is fading), or you can embrace the change and go WILD by transitioning into a new color! The Naturals collection is designed to be more easily removed, allowing you to transform your color from one vibrant shade to another (like Pink to Teal!) without as many steps through the color wheel. If you really want to speed up the fading process, try using a clarifying shampoo, which helps to remove semi-permanent, direct dyes.
6. Over-Processing Your Hair
Even though our hair is technically composed of ‘dead’ cells, we still like to think of it as a living, breathing thing that has to be taken care of and treated nicely! And the truth is, it can only take so much. Lightening products like bleach can only be left on the hair for a specific period of time. If you’ve ever left the bleach on for too long, you’ve run the risk of over-processing your hair. This not only leads to damage but also uneven or unwanted results! Read (and follow!) the directions when it comes to applying bleach or lightening powder, and only leave the product in for the recommended period of time. For our Original Color Kits, we recommend leaving the product on for 30 minutes, checking your lift every 10 minutes to avoid over-processing.
Also, don’t forget to give your hair some recovery time between bleaching and coloring. Splat is all about bold color, but we care just as much about keeping your hair healthy. Take breaks, do strand tests, and show your hair a little love—it’ll thank you for it.
7. Uneven Results or Application
Coloring your hair at home has never been easier. Every Splat color kit and the product comes with everything you need to get brilliant, beautiful color results on your own. We want to prepare you for the transformative journey you’re about to take! So we recommend buying one extra box just in case you run the risk of running out of color - this way, you can ensure you have enough dye to saturate the hair completely. And don’t forget: start applying the dye a half-inch away from your roots first, since the heat of your head speeds up the color process. This will help you achieve even results!
At Splat, we love hair, and we love hair COLOR, and we want you to feel the same way! We’re here to help you achieve a gorgeous hair color transformation, and we want to make the process as easy and stain-free as possible! But we know: at-home hair dye mistakes happen! If you run into trouble (or an accidental science experiment), try one or more of the steps above to either fix or avoid your biggest hair color woes. No power-washing required!